When it comes to starting your home project, selecting your tiles is one of the most difficult things to do; partly because of the incredible range of tiles available on the market. So when you finally decide on what tiles to use for either your walls or floors, it’s an achievement in itself! Especially if you live with a partner whose ideas differ to yours; cue the arguments!
So once you have selected your tiles (won the argument), the next debate is how to lay them. Brick Bond? Basket Weave? Herringbone? There are so many options to choose from and so many ways you can go wrong, meaning pattern layout becomes just as important as selecting the tiles.
So here are our top pattern picks.
Let’s start with an easy one – Modular/Opus Pattern
We call it ‘easy’ purely because the tiles are usually pre-cut into the various sizes, in packs, ready to use.
In reality though, these can take a little longer to fit, as you need to work out exactly how much space to leave between each tile and make sure the grouting is done correctly. Therefore it’s important that you hire an expert, or take time to plan ahead.
To assist you, most modular packs come with a pattern layout sheet, which is intended as a guide only, as the way the tiles have been cut allows you to create a totally bespoke design!

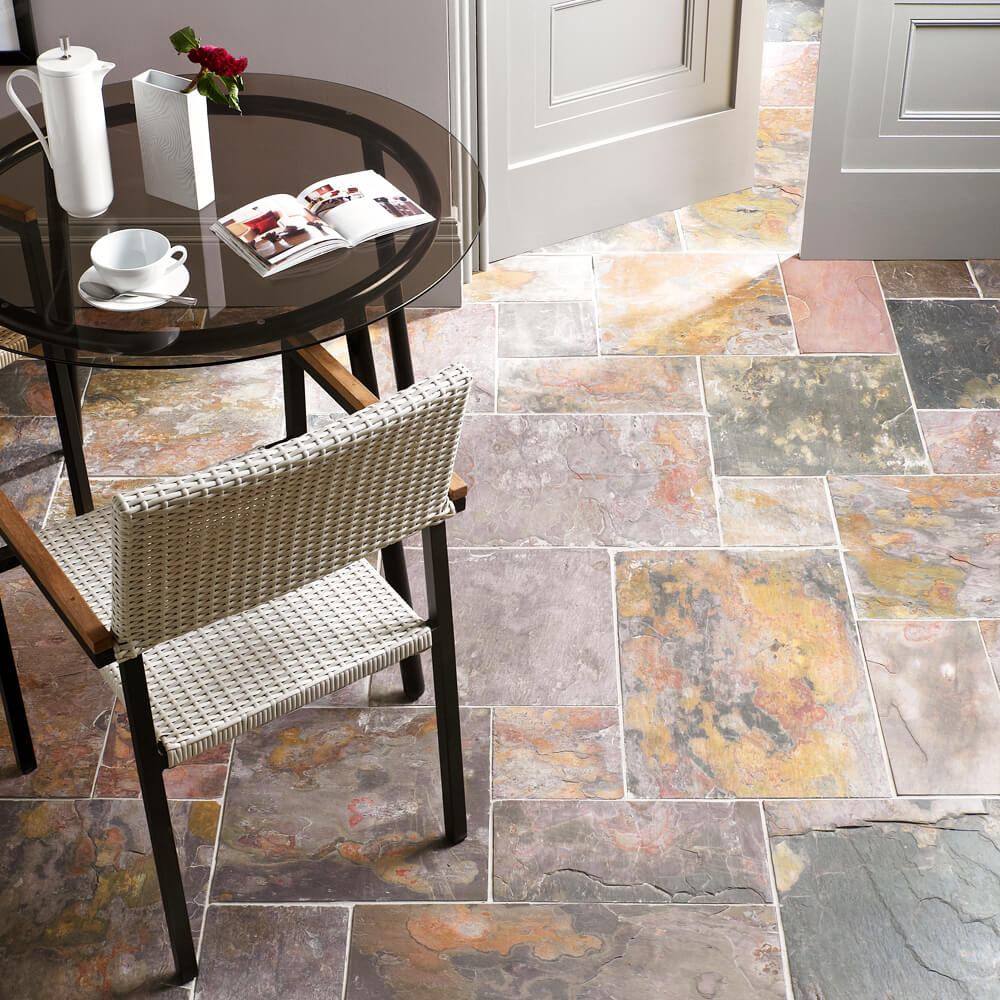
Image: Sheera Modular Set
As you can see, once fitted correctly, the repetition of this geometric pattern adds dazzling detail without all the chaos, and creates the effect of a well-balanced puzzle. If you are using a natural slate tiles or limestone tiles, the finish you get is a farmhouse chic, homely feel. In contrast, if you choose a honed/brushed finish in a travertine tile, then you can achieve an elegant and contemporary finish.
For most impact, this pattern works best in larger areas.
Next up is the ‘classic’ Brick Bond Pattern
This is the pattern most commonly used in brickwork, which is where the name derives from. It’s a simple, yet attractive design, typically used with rectangular tiles.

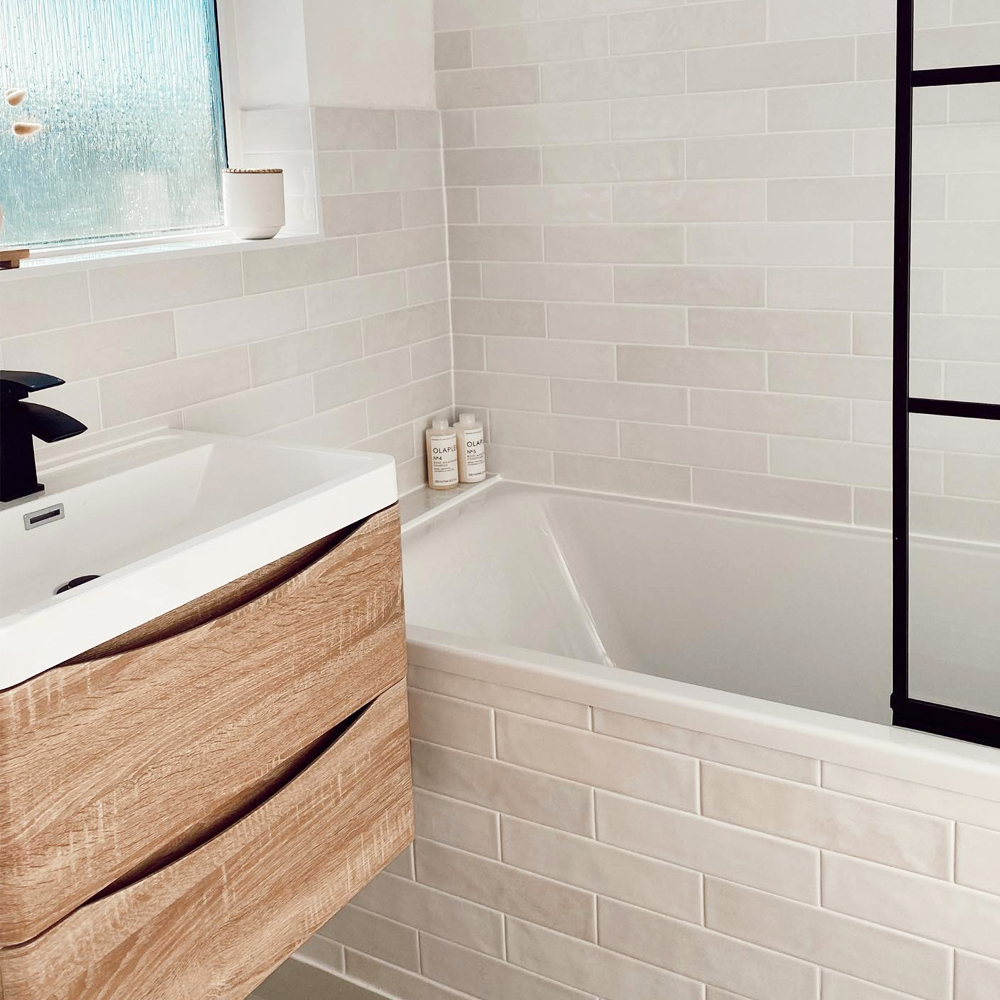
Image Source: Paris Pearl Brick Wall Tiles
It’s really easy to create, you simply line up the end of each tile, to the centre of the tile above and below; making sure as you go along that the tiles line up as well. The result is a staggered, yet synchronised look which works well with a variety of sizes, though we do not recommend using this pattern for tiles greater than 600x300mm, especially polished porcelain tiles.

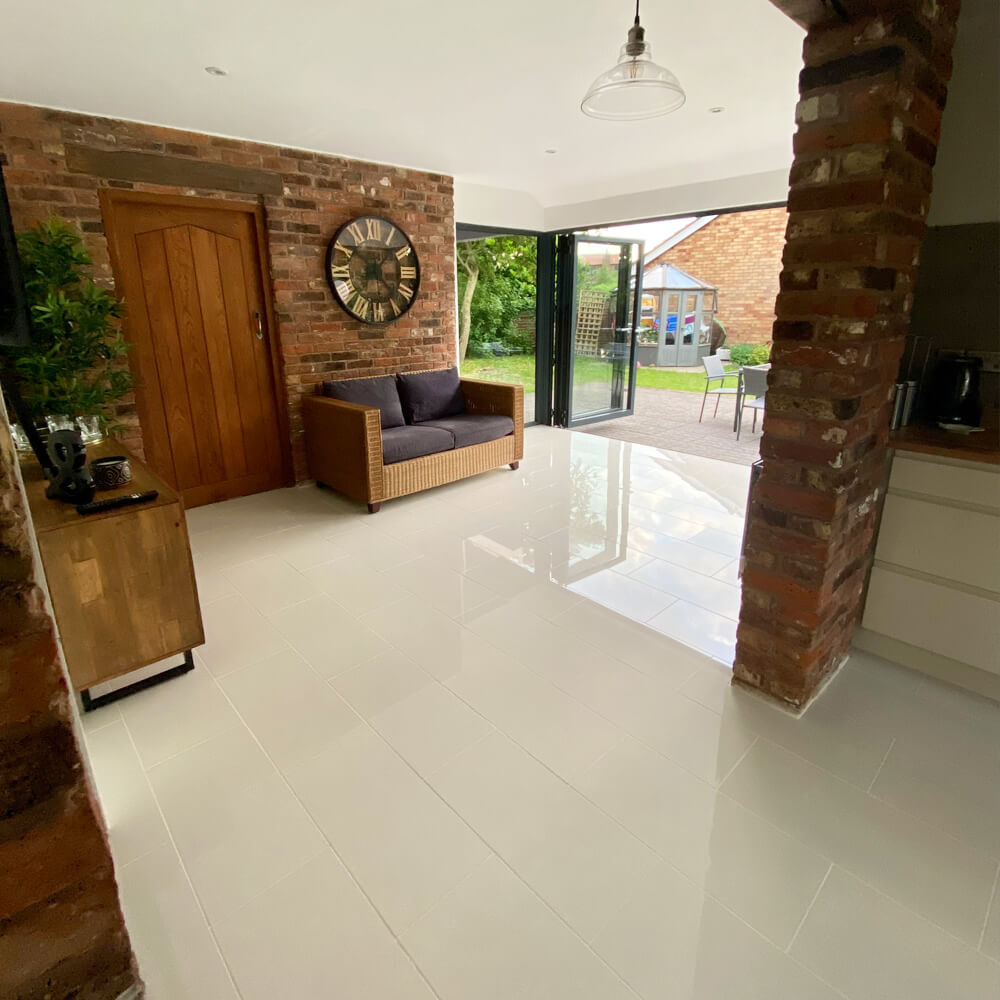
Image: Royale Vanilla 600x295mm
Our next choice is the Basket Weave…
At this point I think it’s safe to say that a common theme with these patterns is the names basically describe themselves. So with this secret now out it the open, the basket weave looks like…well a basket weave!
Image Source: Pinterest
As with the Brick Bond pattern, this works best with rectangular tiles, and is fairly easy to install.
You group your tiles either in twos or threes, vertically or horizontally to form a ‘square’. If the first square is horizontally positioned, then the adjacent square will be made up of the vertically placed squares. This is the key in creating that woven look.
If you are after a classy vintage feel, then this is the pattern to go for! It looks great on walls as well as floors, so even if you don’t want to create something too flamboyant, this would be a good option for a stylish splash-back.
We would recommend that you use this pattern in smaller areas, as we have found that when this is done on a larger scale it can look a bit too busy.
Lastly we have our final, and our favourite, the Herringbone Pattern!
If you are a major trend follower, then last year you would have spotted this pattern literally everywhere. Herringbone was the must-have pattern of the past two years or so, and is on track to be a major contender for this year.
Image: Paris Rose Wall Tiles
Herringbone as you can see here with our paris rose wall tiles is where you take two rectangles and create a ‘V’ shape, by placing the bottom edge of one tile, flush against the side of another. You simply need to repeat this over and over, to build your row of V’s, which will create that ‘fish spine’ look. Not the best definition we have to admit, but it’s where the term ‘Herringbone’ comes from, so it definitely deserves a shout out!
It’s a great alternative to the more traditional patterns, which I have previously mentioned, and is always a pattern that is featured in those uber trendy restaurants, either on the floor or behind a swanky bar. So it’s pretty versatile and will liven up any area.
Tip! Try turning this on a 90 degree angle, for a more modern twist.
On a final note, this isn't really a pattern, but looks so stunning it definitely needed to be featured..
Vertical Fixing Split Face Mosaic..
Image Source: Houzz
The classic way to tile these is horizontally, and although this looks just as good, we found that turning them on their side added more character and really elongated the wall, making rooms appear much bigger!
You don’t have to go overboard with your pattern choice, you can simply break up a plain tiled wall with your pattern statement, or even with just a few statement tiles! This not only creates a sophisticated finish, but is a subtle way at brightening up a room.
Still not sure? Try Jotting down on a piece of paper different patterns, then go grab your tiles, dry lay them into those styles, and see what you come up with.
Creativity is the key!


